Creating Your First Project
Start a tour from New Video Tour in Video Studio, the Create a Video Tour card on your dashboard, or Create a video tour in any property workspace. All three land in the same builder. Before it opens you pick a format, and then six numbered steps run across the top of the page.

Choose your orientation first. 16:9 is the cinematic landscape format for MLS, websites, and YouTube. 9:16 is full-screen vertical for Reels, TikTok, Stories, and Shorts. 3:4 and 4:5 are the taller Instagram feed formats. Tap the one you want most; the others are free to add.
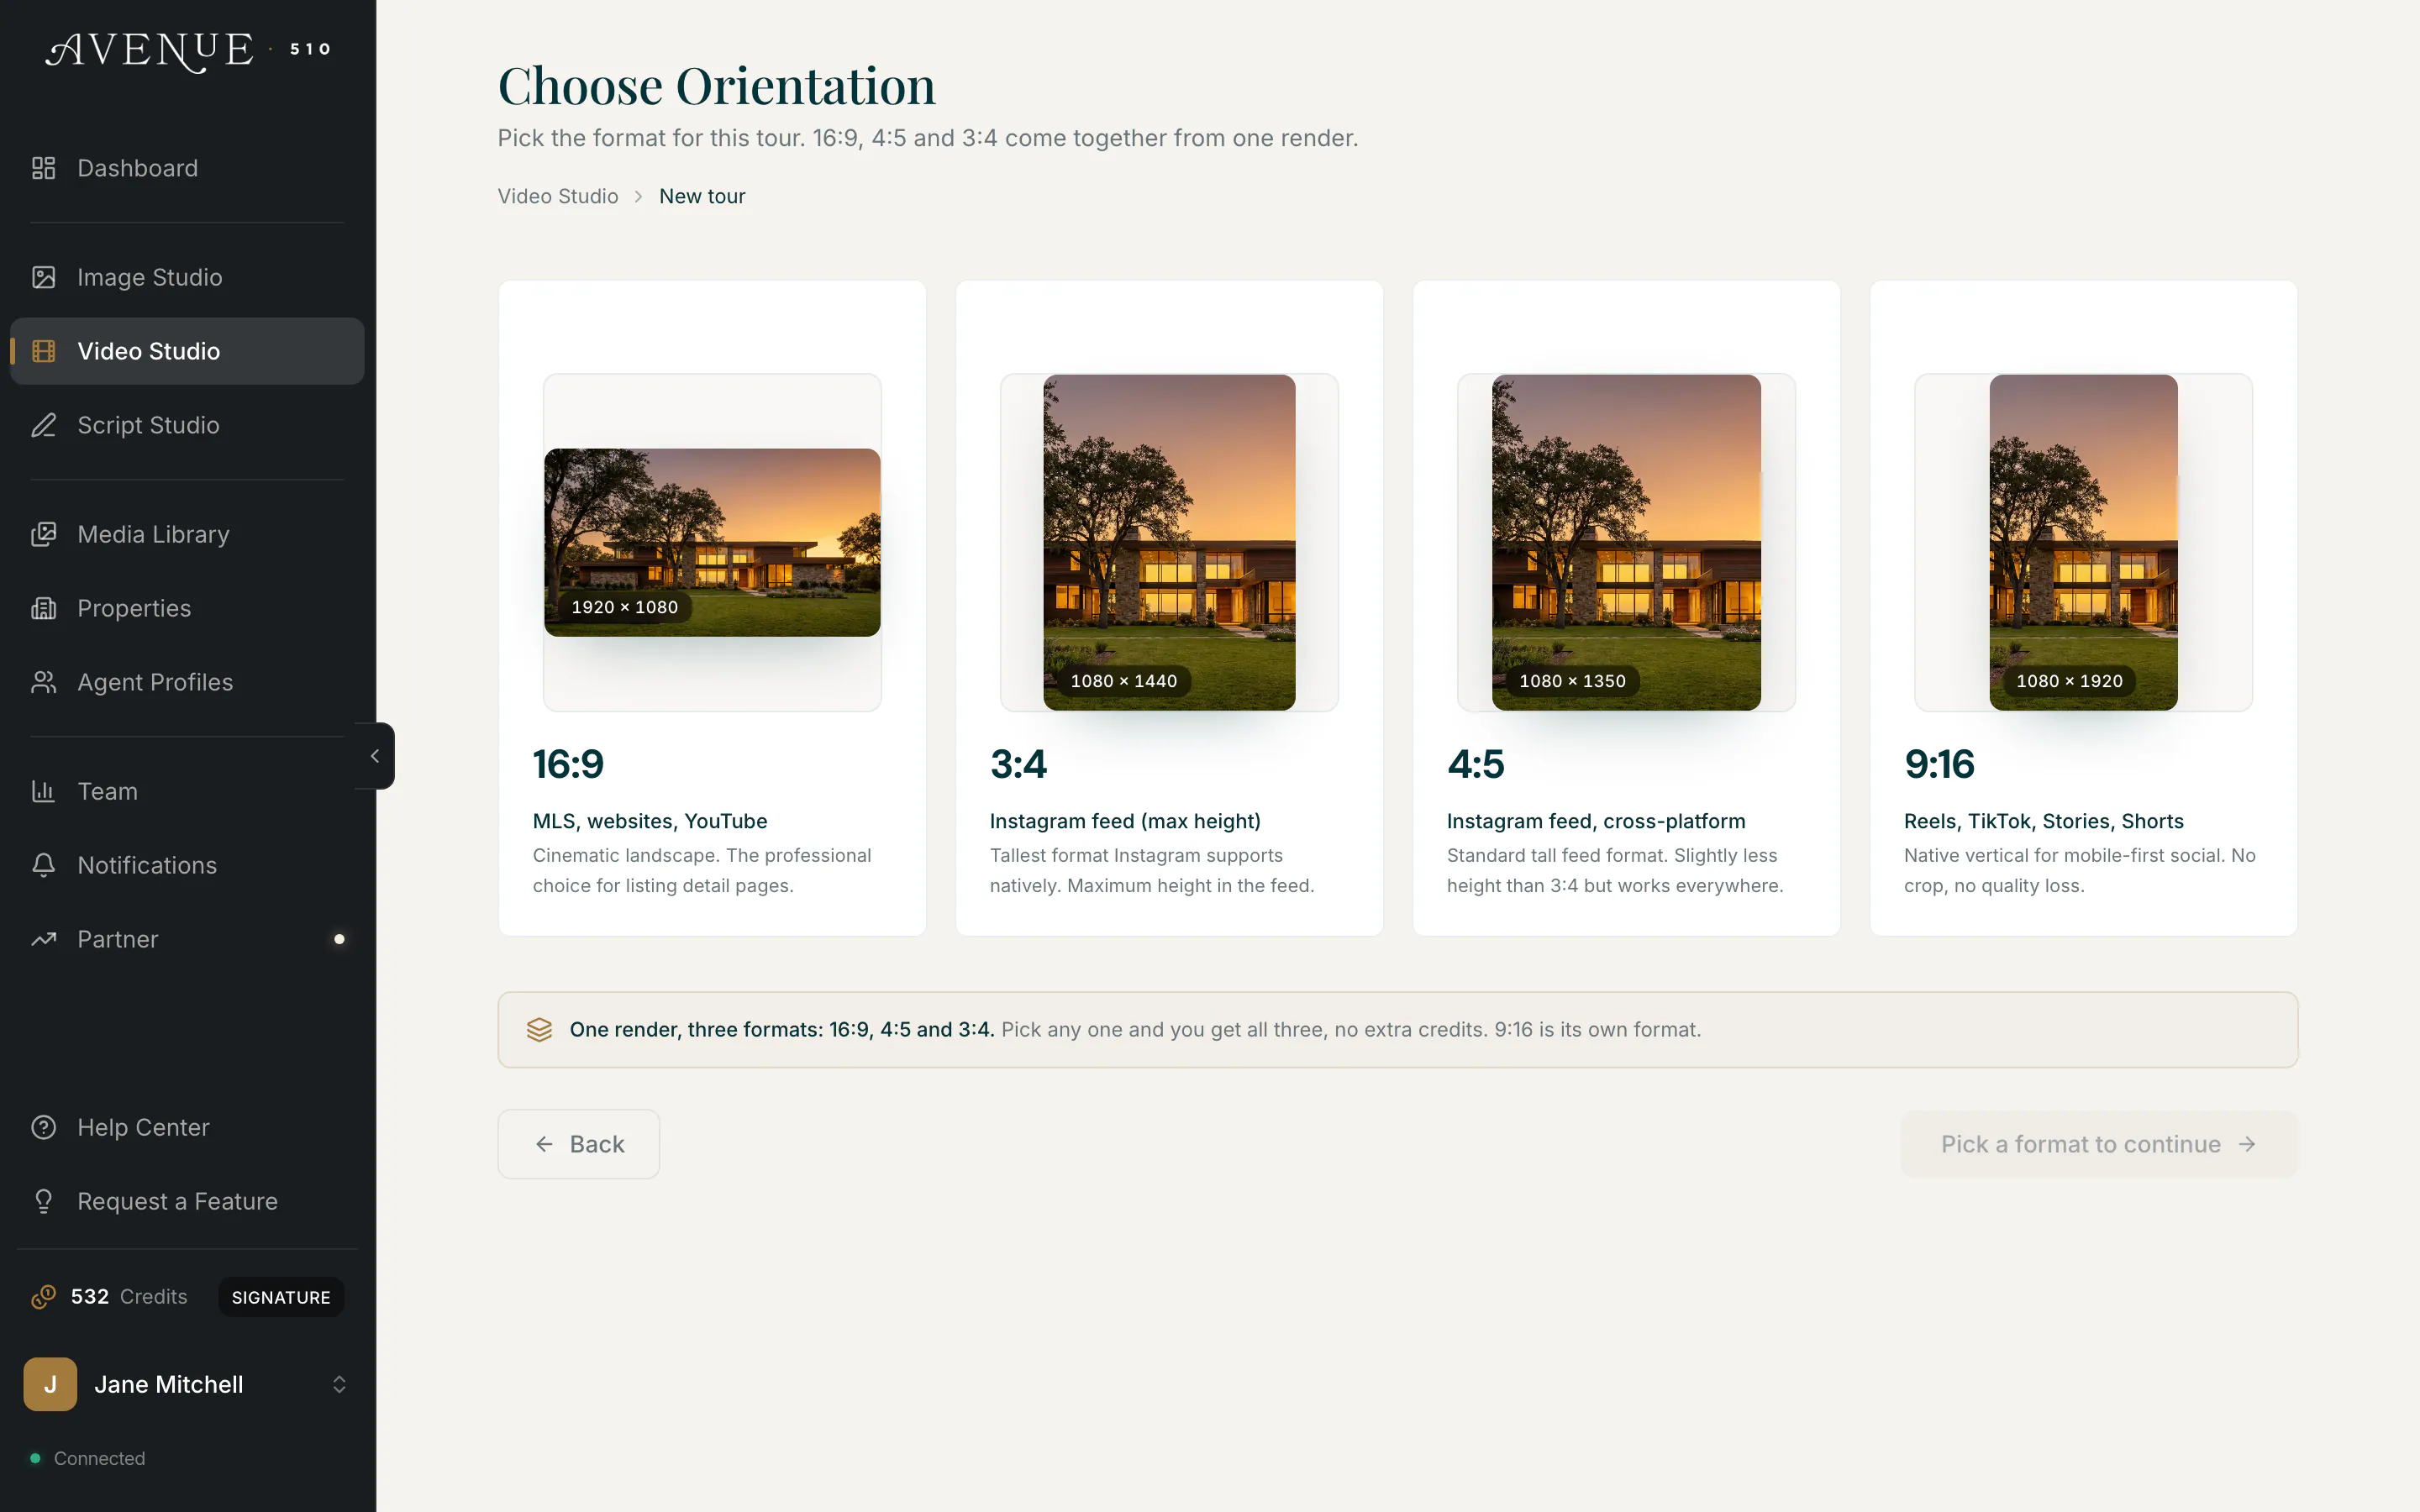
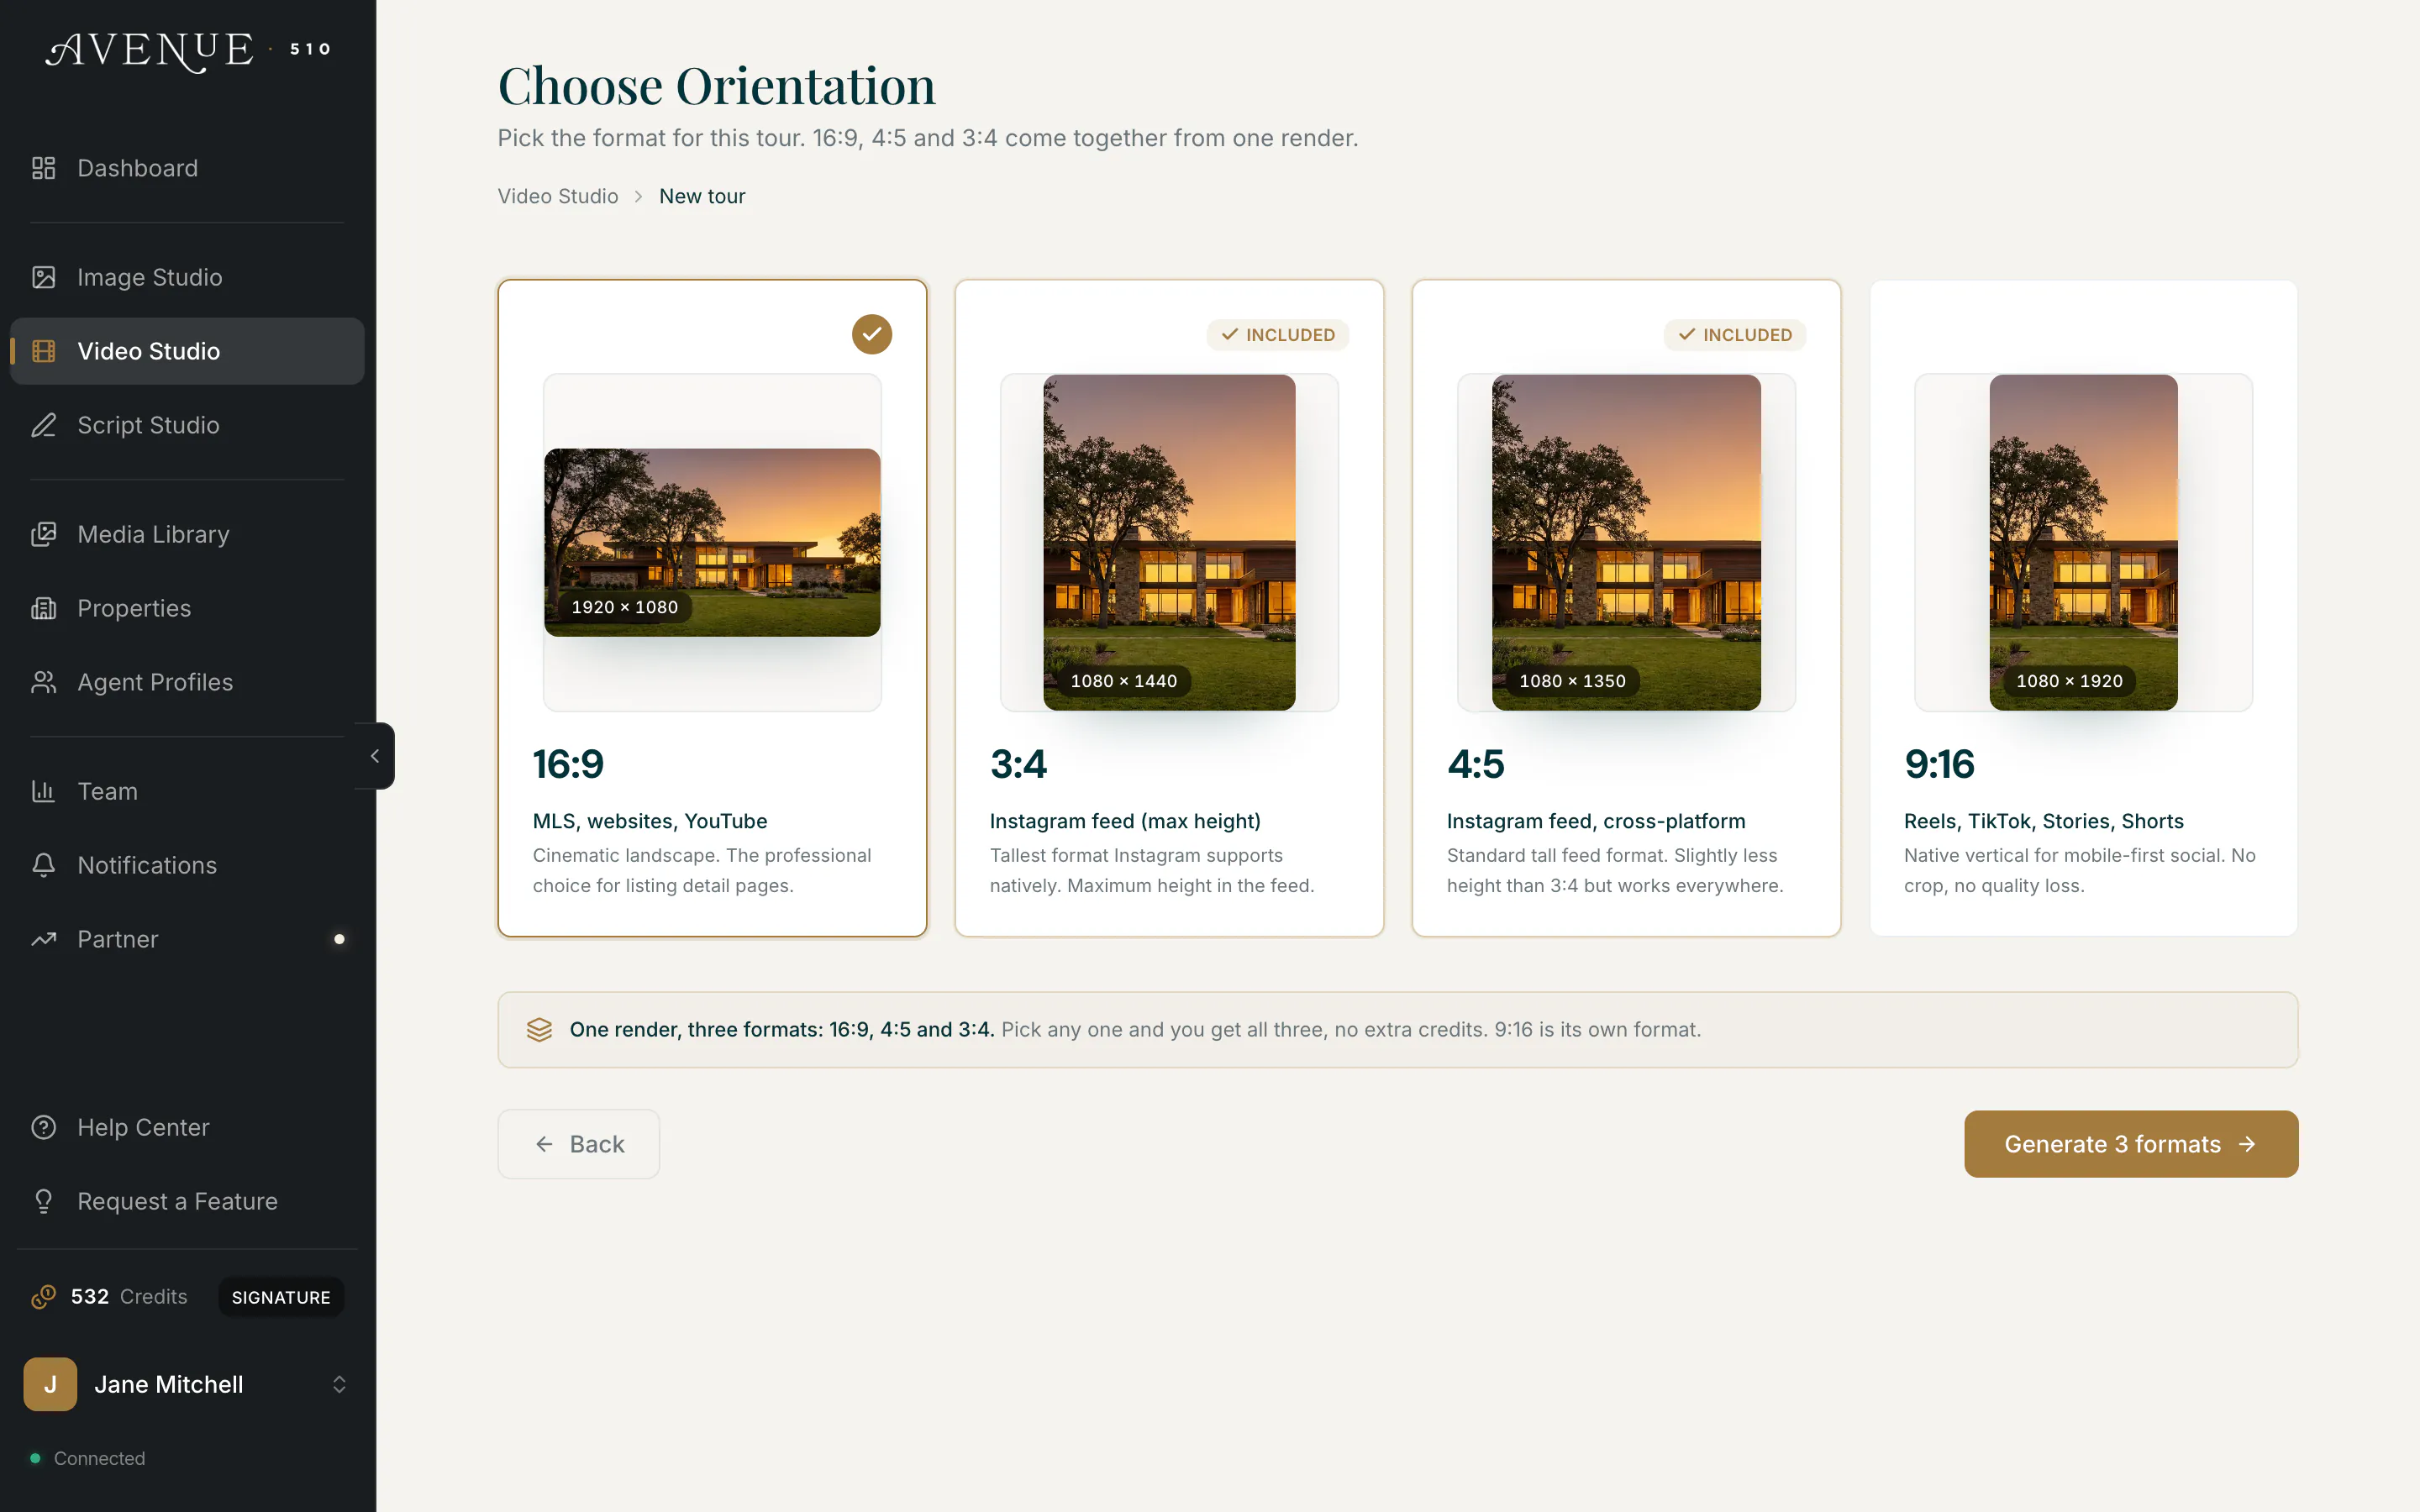
All four come from the same render, so the one you pick costs the same as the one you do not. Tap the format you want most: that is the one your tour opens on and the one that renders first. Tap any of the others to add them, and the button counts what you have chosen. Adding more costs no extra credits and no extra render time, and you can add the rest later from the finished tour.
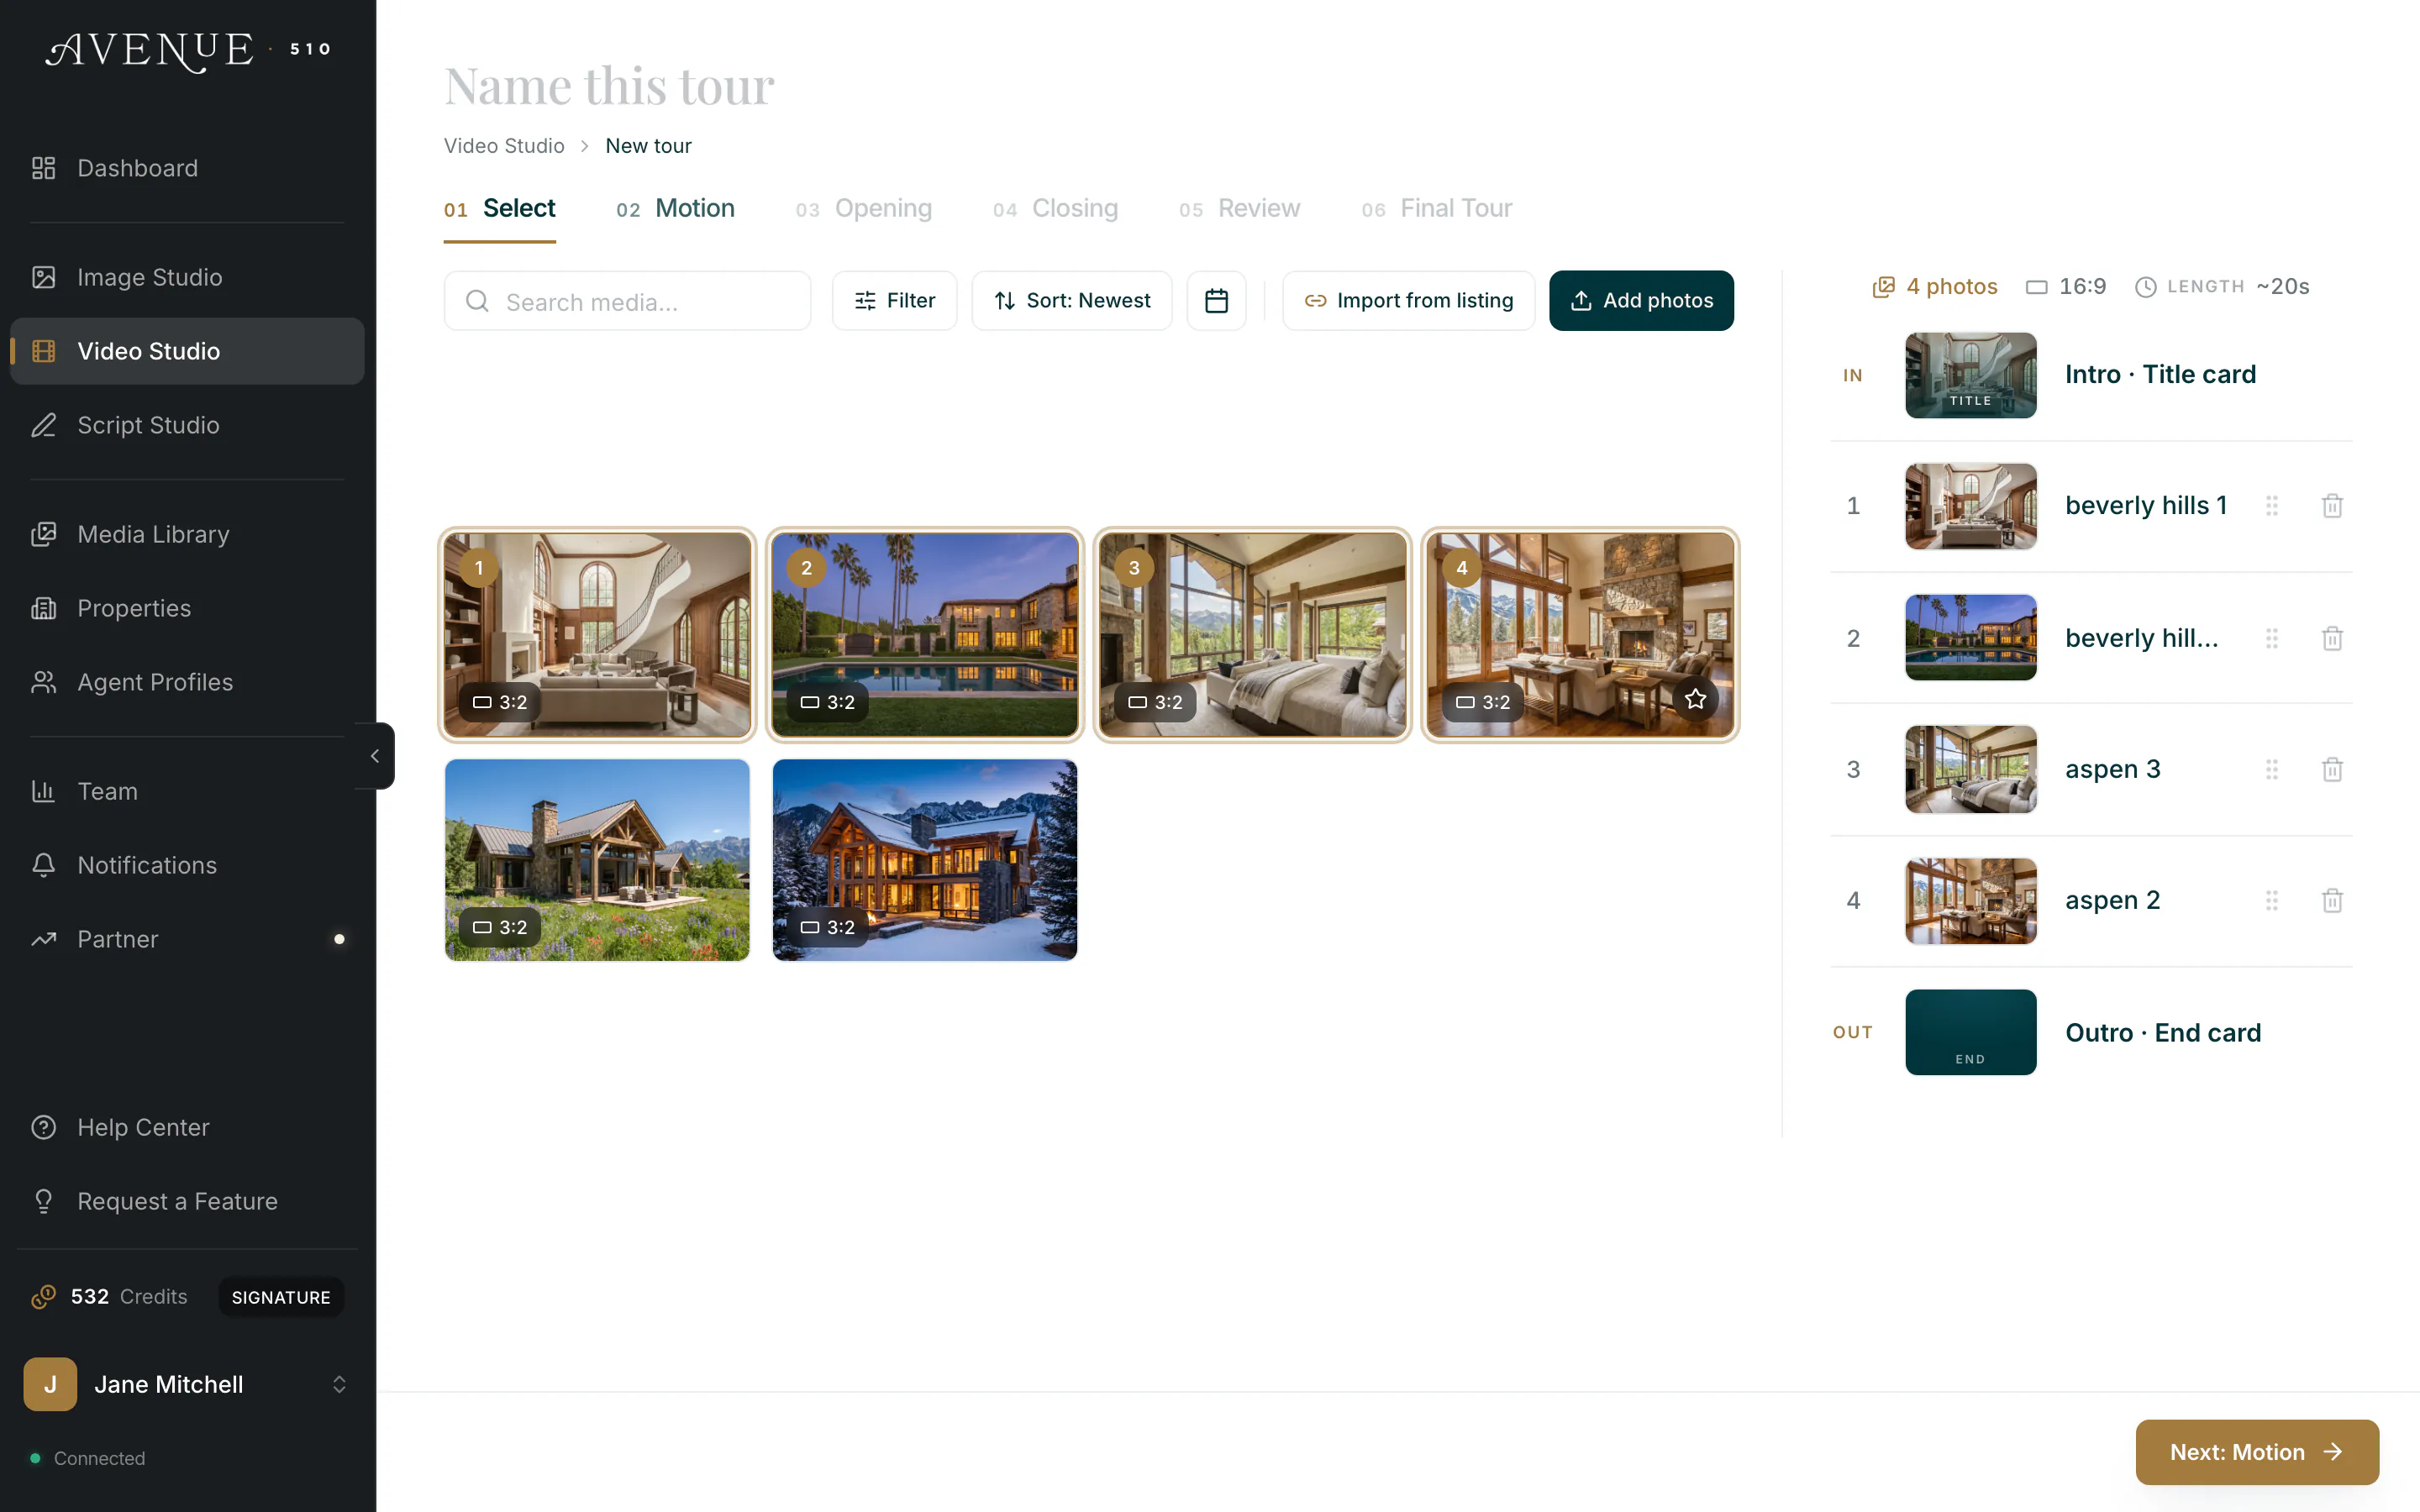
Step 1: Select. Add your listing photos. Upload from your computer, pick from your Media Library, or use Import from listing to pull the photos in from a listing URL. Tap a photo on the left and it moves to the right in tour order. Tap it again to take it back out, and drag the right-hand list to reorder.
This step also offers the clips you already own, in the same grid as your photos. Starting from clips skips the Motion step and costs no credits, because the clips are already rendered. See building a tour from clips you already have.
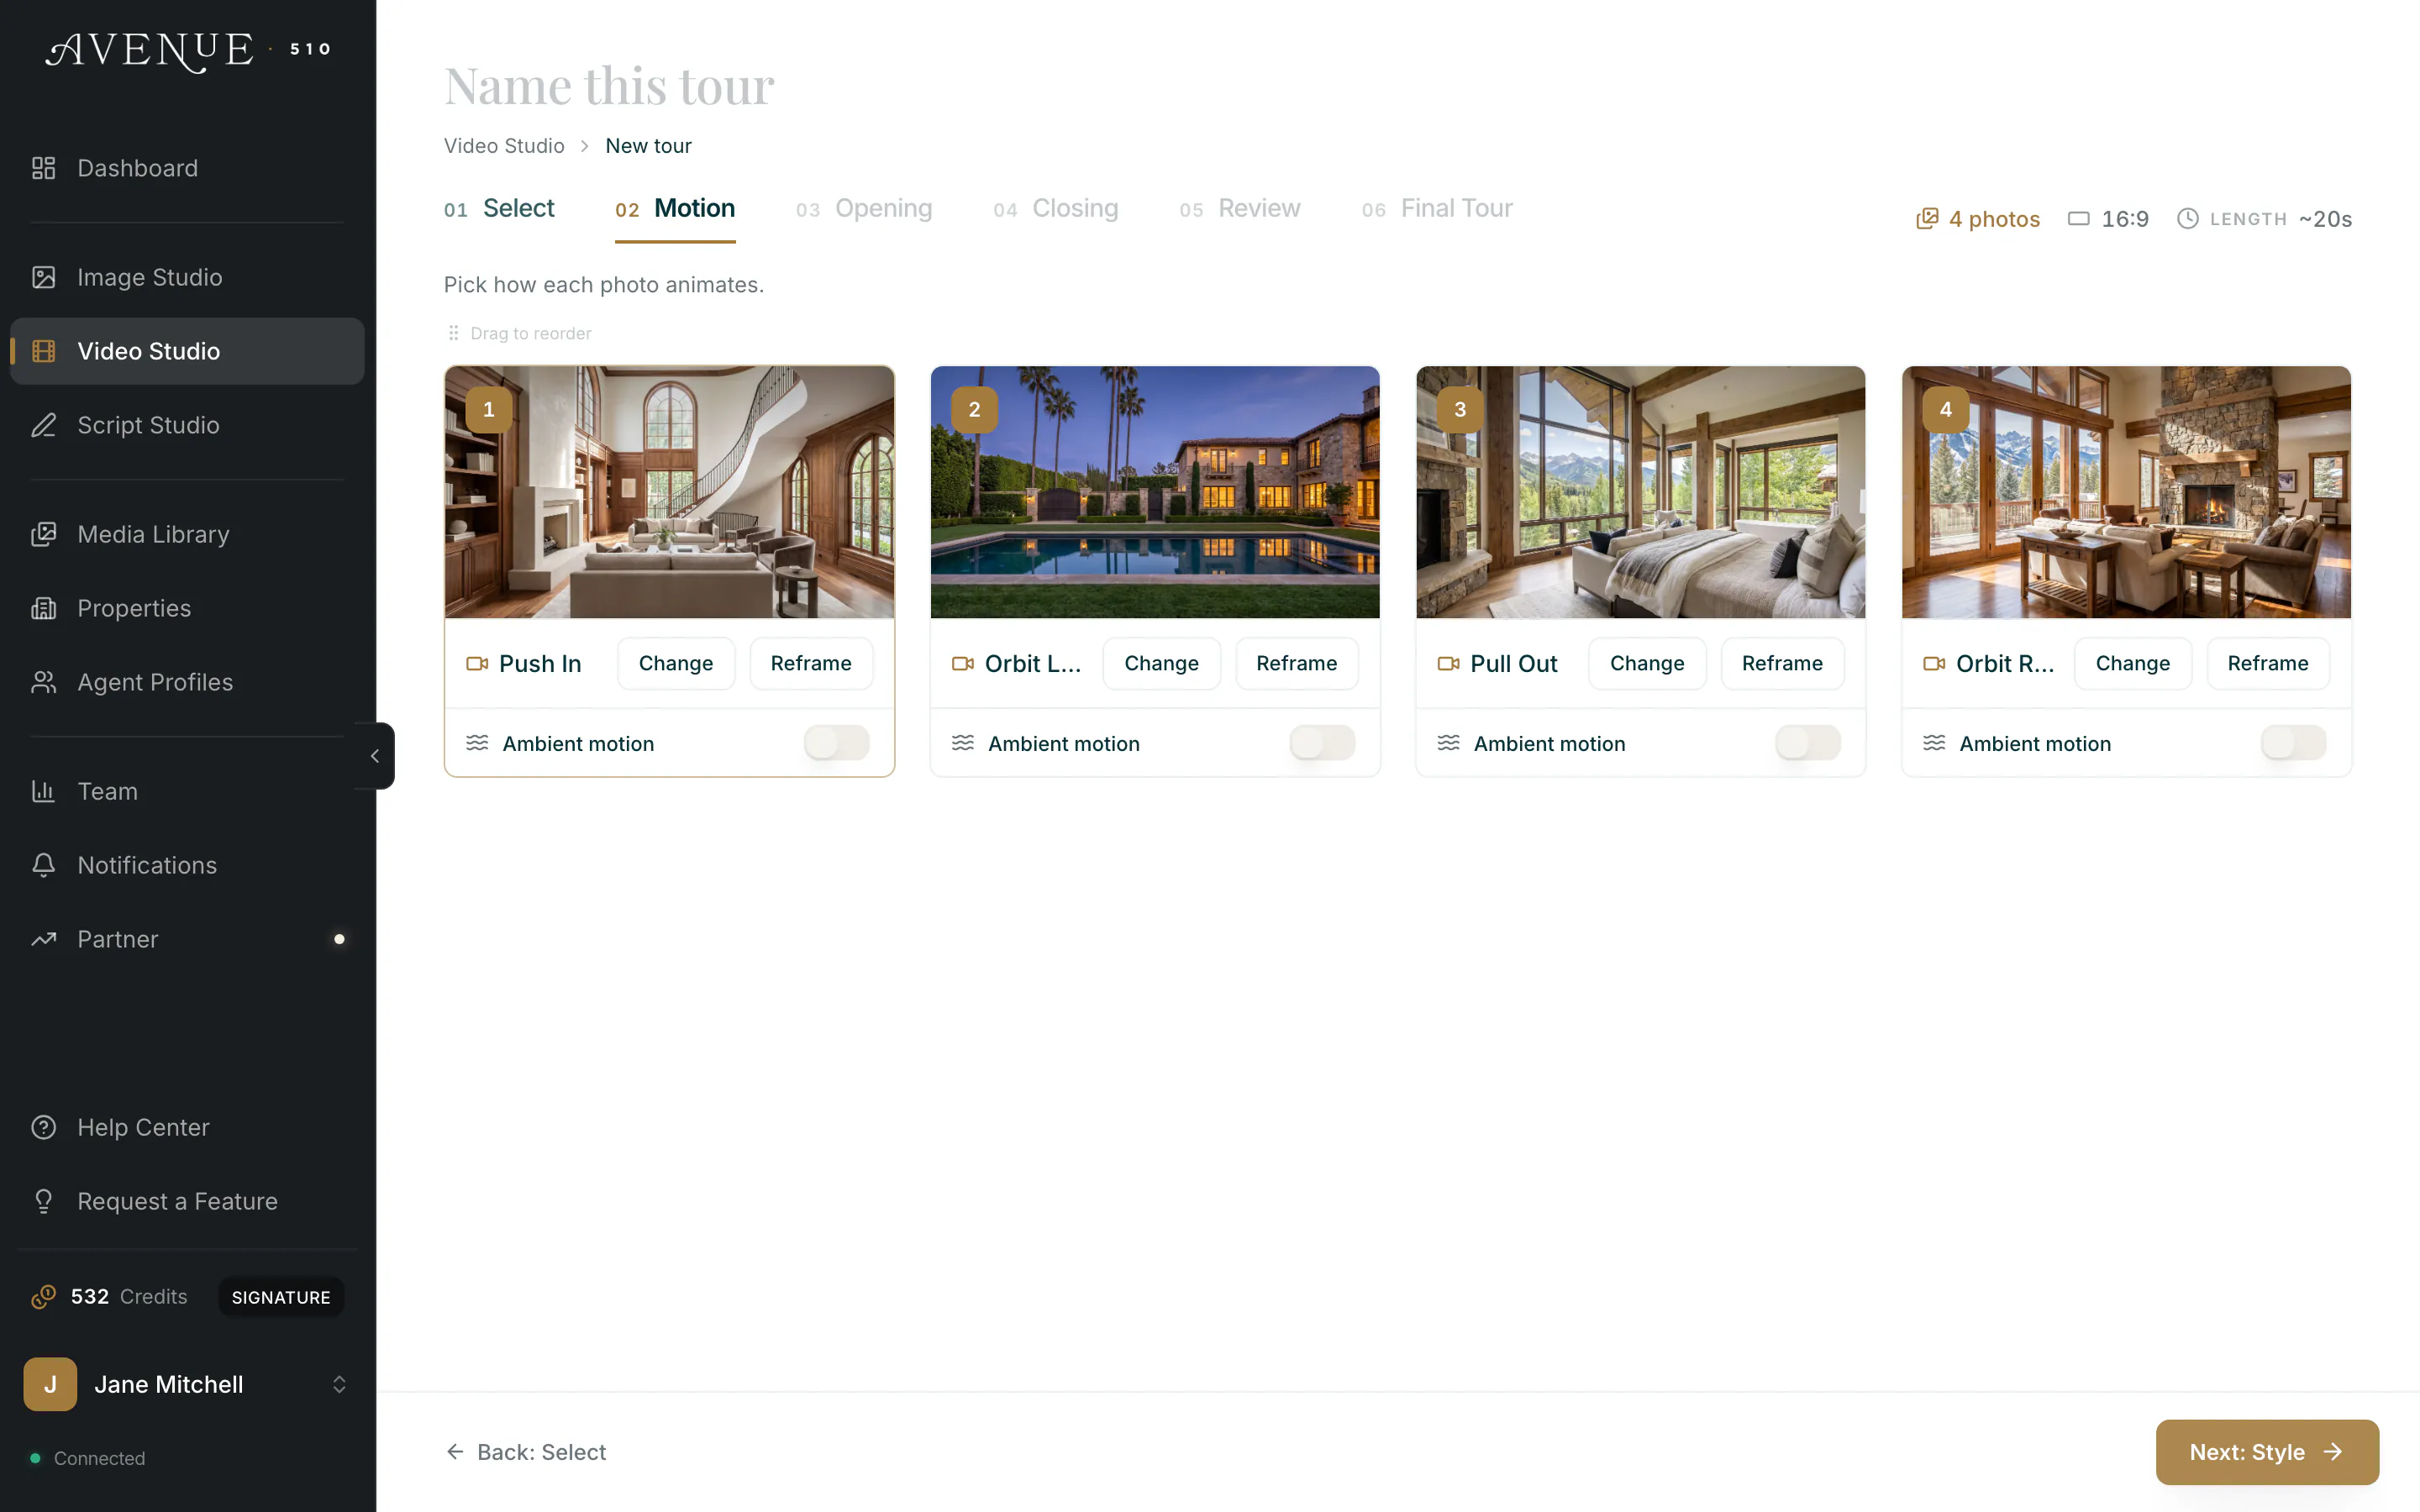
Step 2: Motion. Each photo becomes a moving clip. Avenue 510 assigns a camera movement to every photo for you, and you can change any of them with Change, adjust the framing with Reframe, or switch on Ambient motion. The header keeps a running count of photos, your format, and the estimated length. A tour built from clips skips this step, because its scenes already move.
Step 3: Opening. Design your opening scene: the agent, the property, a title such as Just Listed, and your branding. A live preview on the right shows exactly how the opening of your tour will look. If the agent still reads Agent Name, set up an agent profile first and it will fill in here automatically.
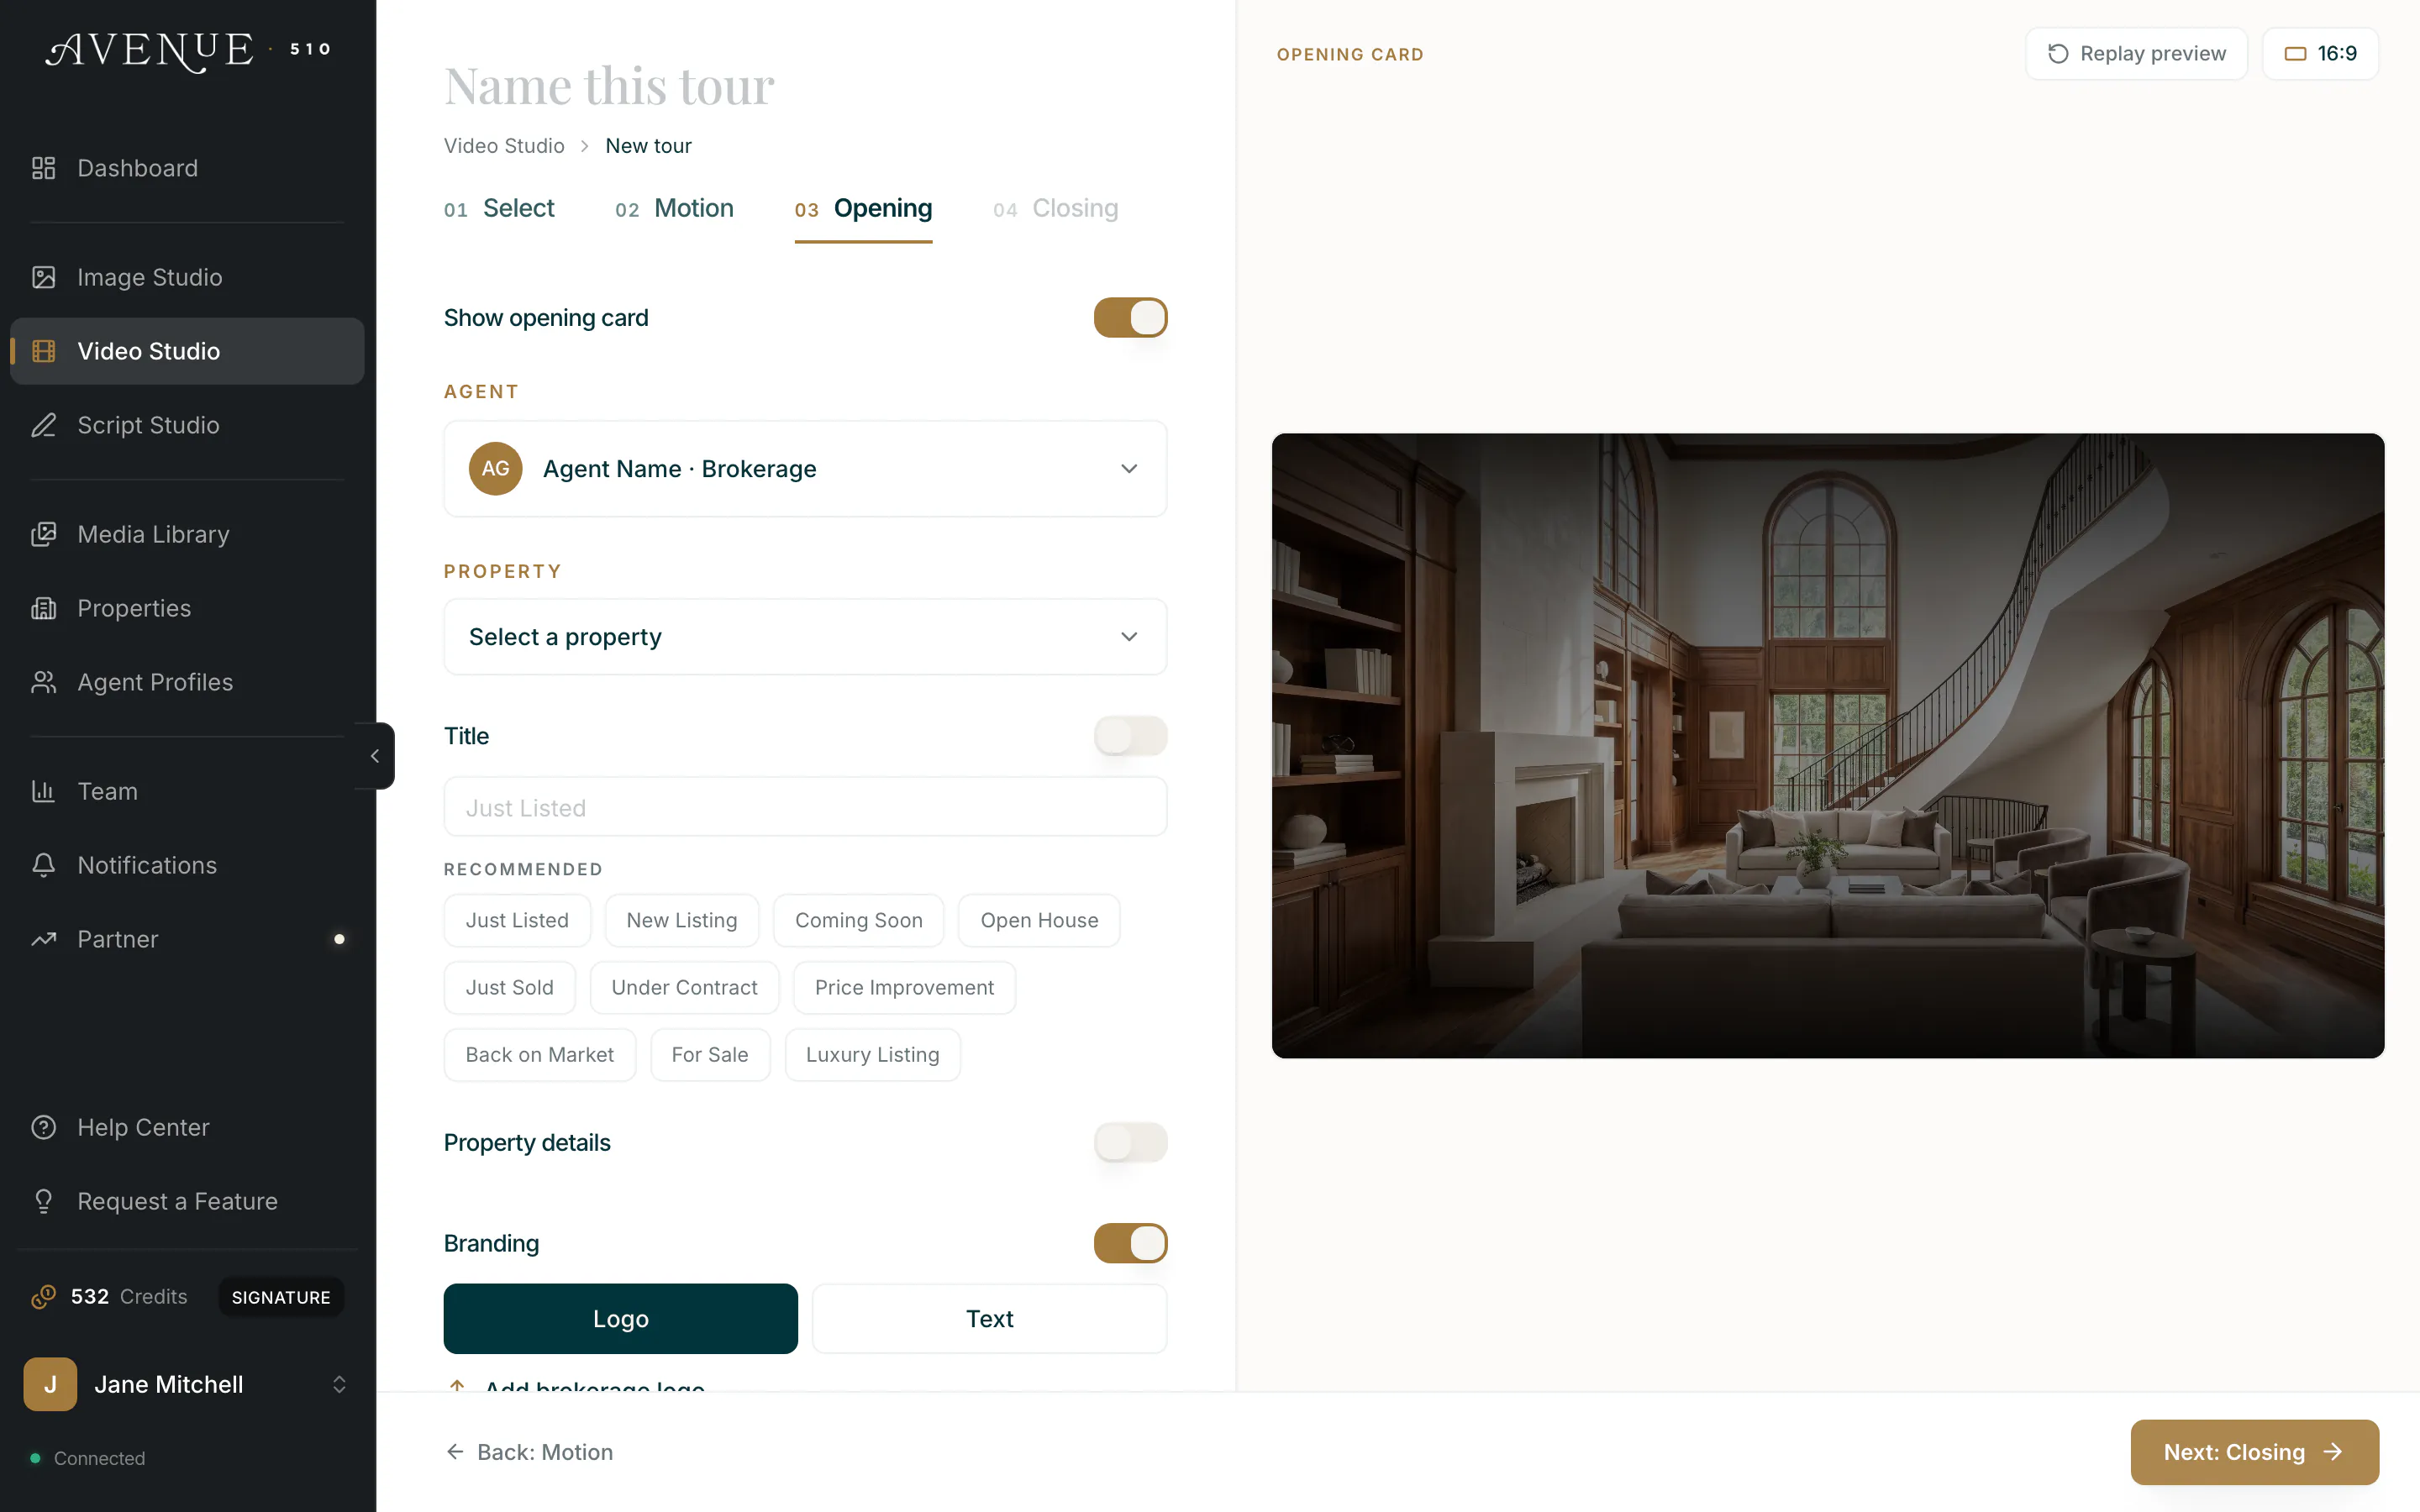
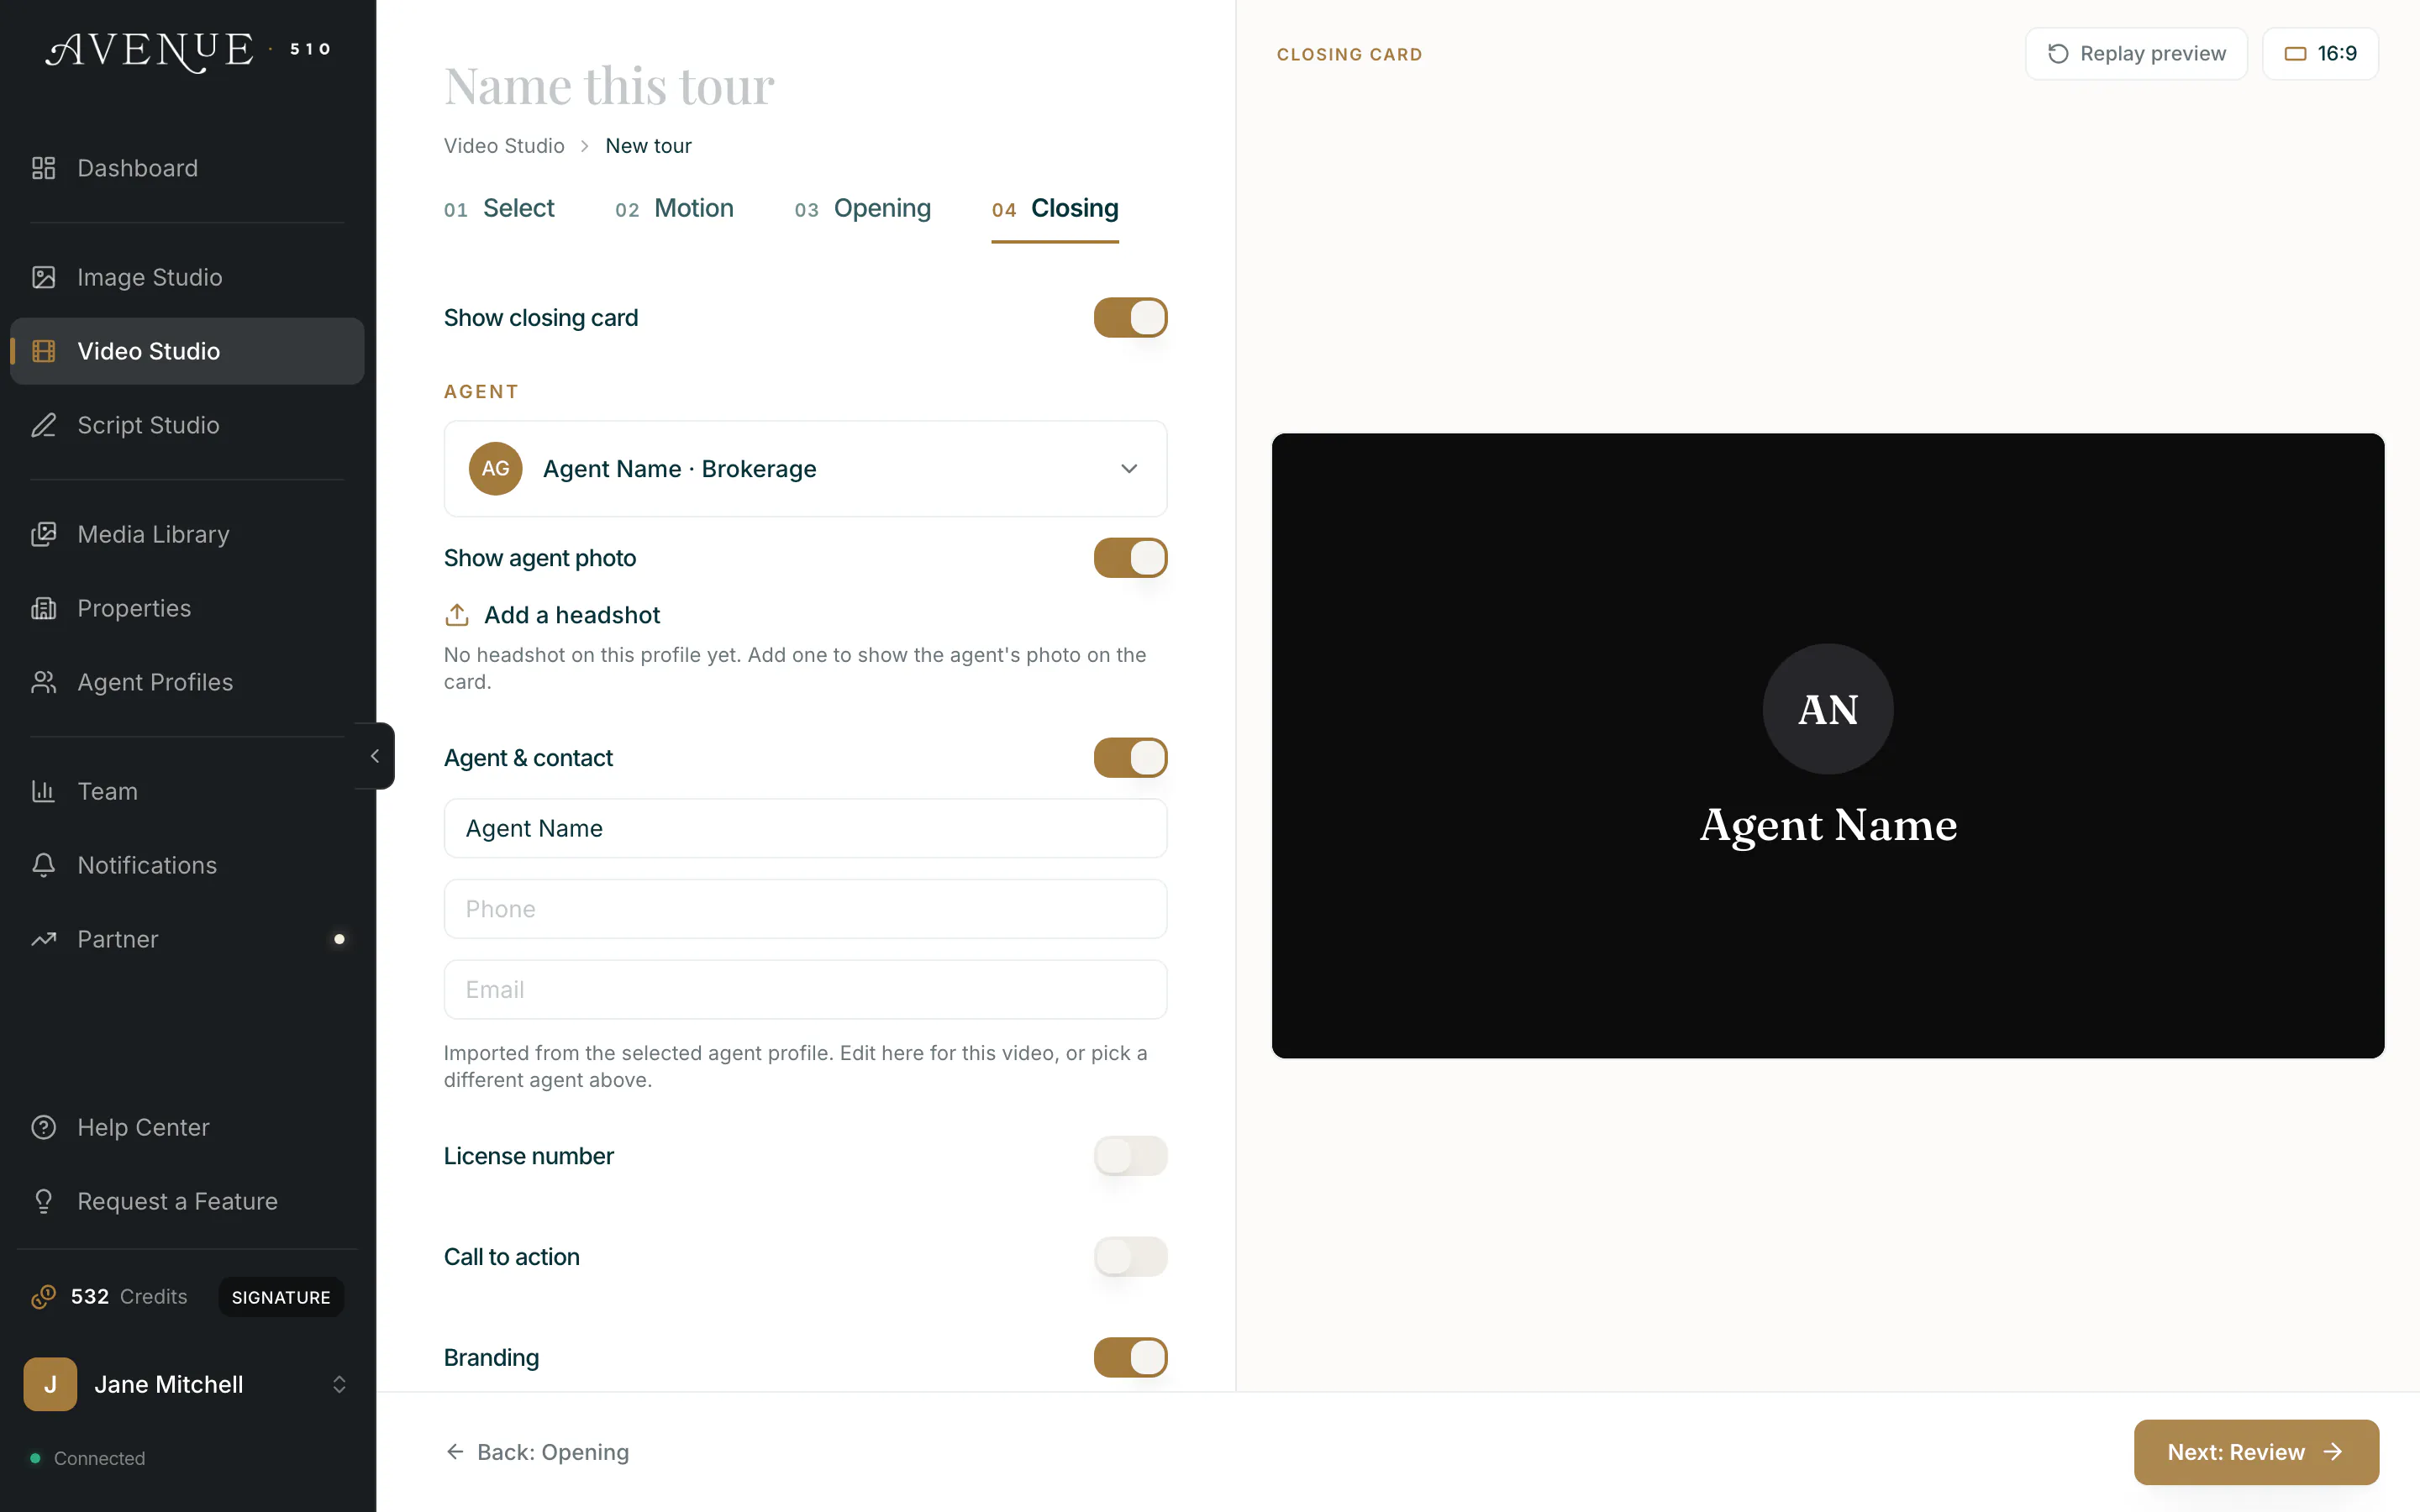
Step 4: Closing. Design your closing scene: your agent card, contact details, and a call to action. A live preview shows the end of your tour.
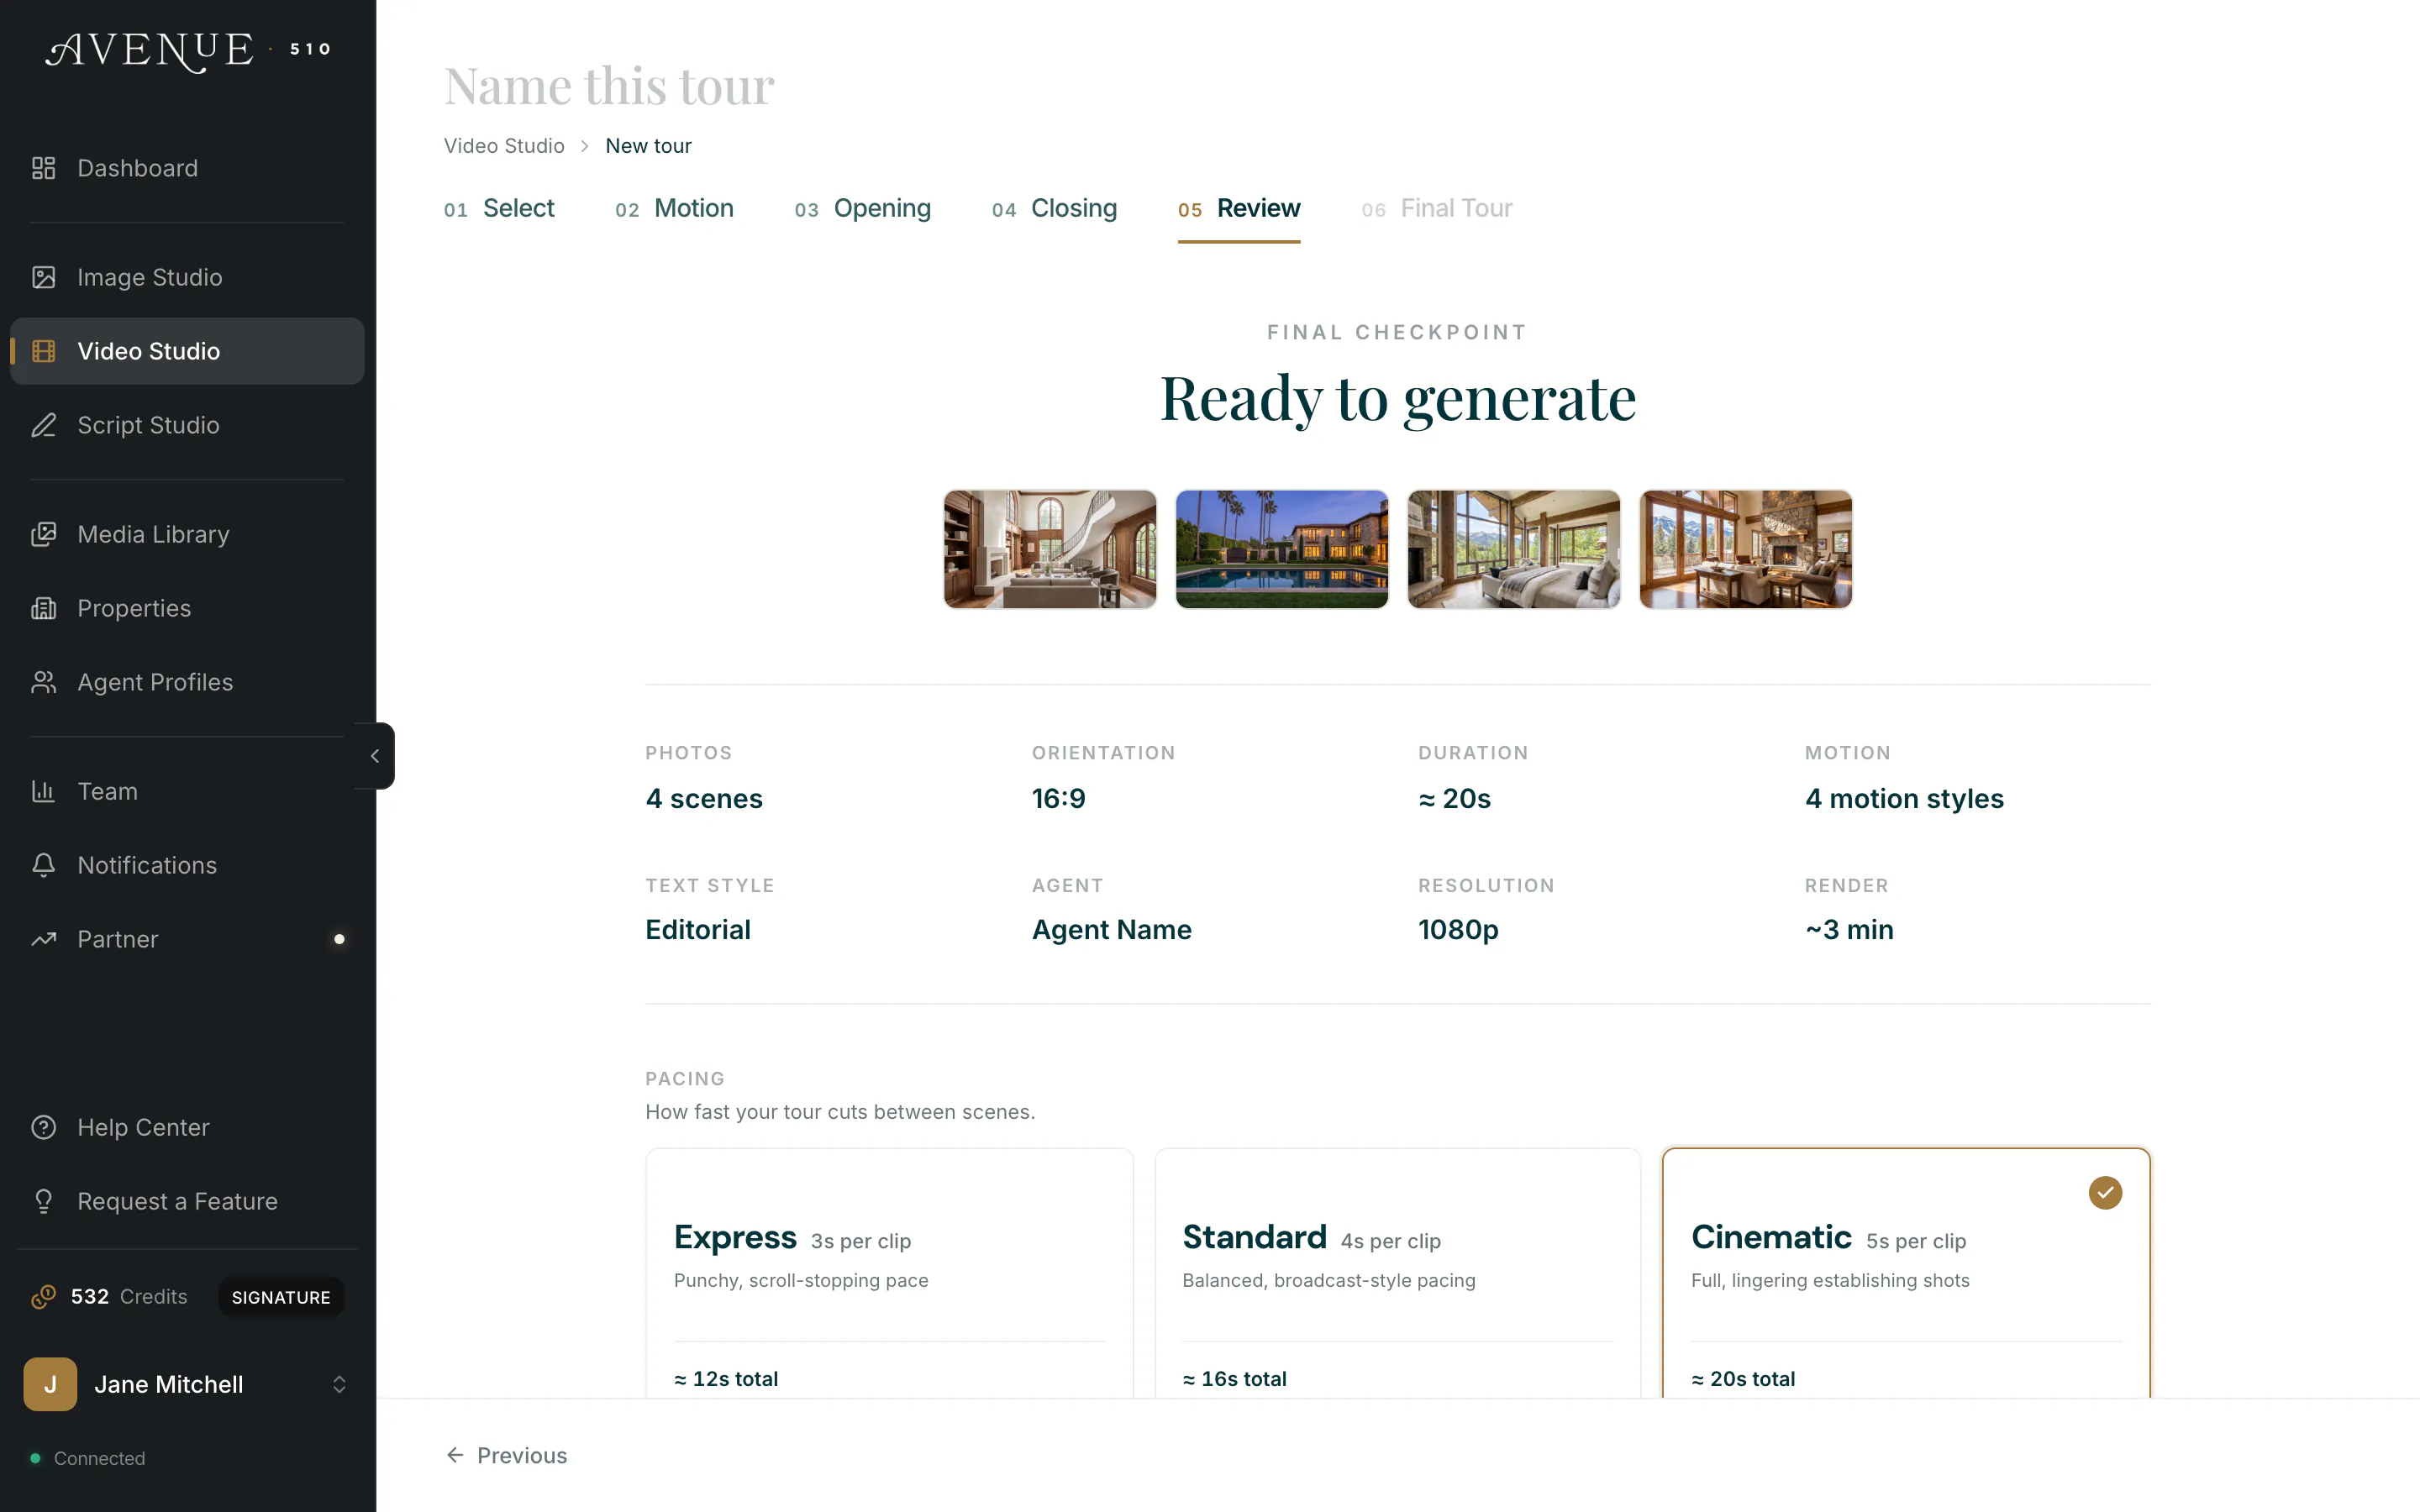
Step 5: Review. The final checkpoint. You get a full summary before anything is spent: scene count, orientation, estimated duration, motion styles, text style, agent, resolution, and how long the render should take. This is also where you set pacing, which controls how fast the tour cuts between scenes and therefore how long the finished video runs.
Step 6: Final Tour. Your finished tour. This step stays locked until a render finishes, and once it does, the earlier steps lock behind it so a delivered tour cannot be edited out from under itself. From here you can watch the tour, download it, and share it.