How the Storyboard Works
The storyboard is where you arrange, animate, and refine your listing photos into a finished video. It runs as six numbered steps across the top of the page: 01 Select, 02 Motion, 03 Opening, 04 Closing, 05 Review, and 06 Final Tour. You can jump back to any step you have already reached; moving forward happens through Next, so a step you have not reached yet stays locked.

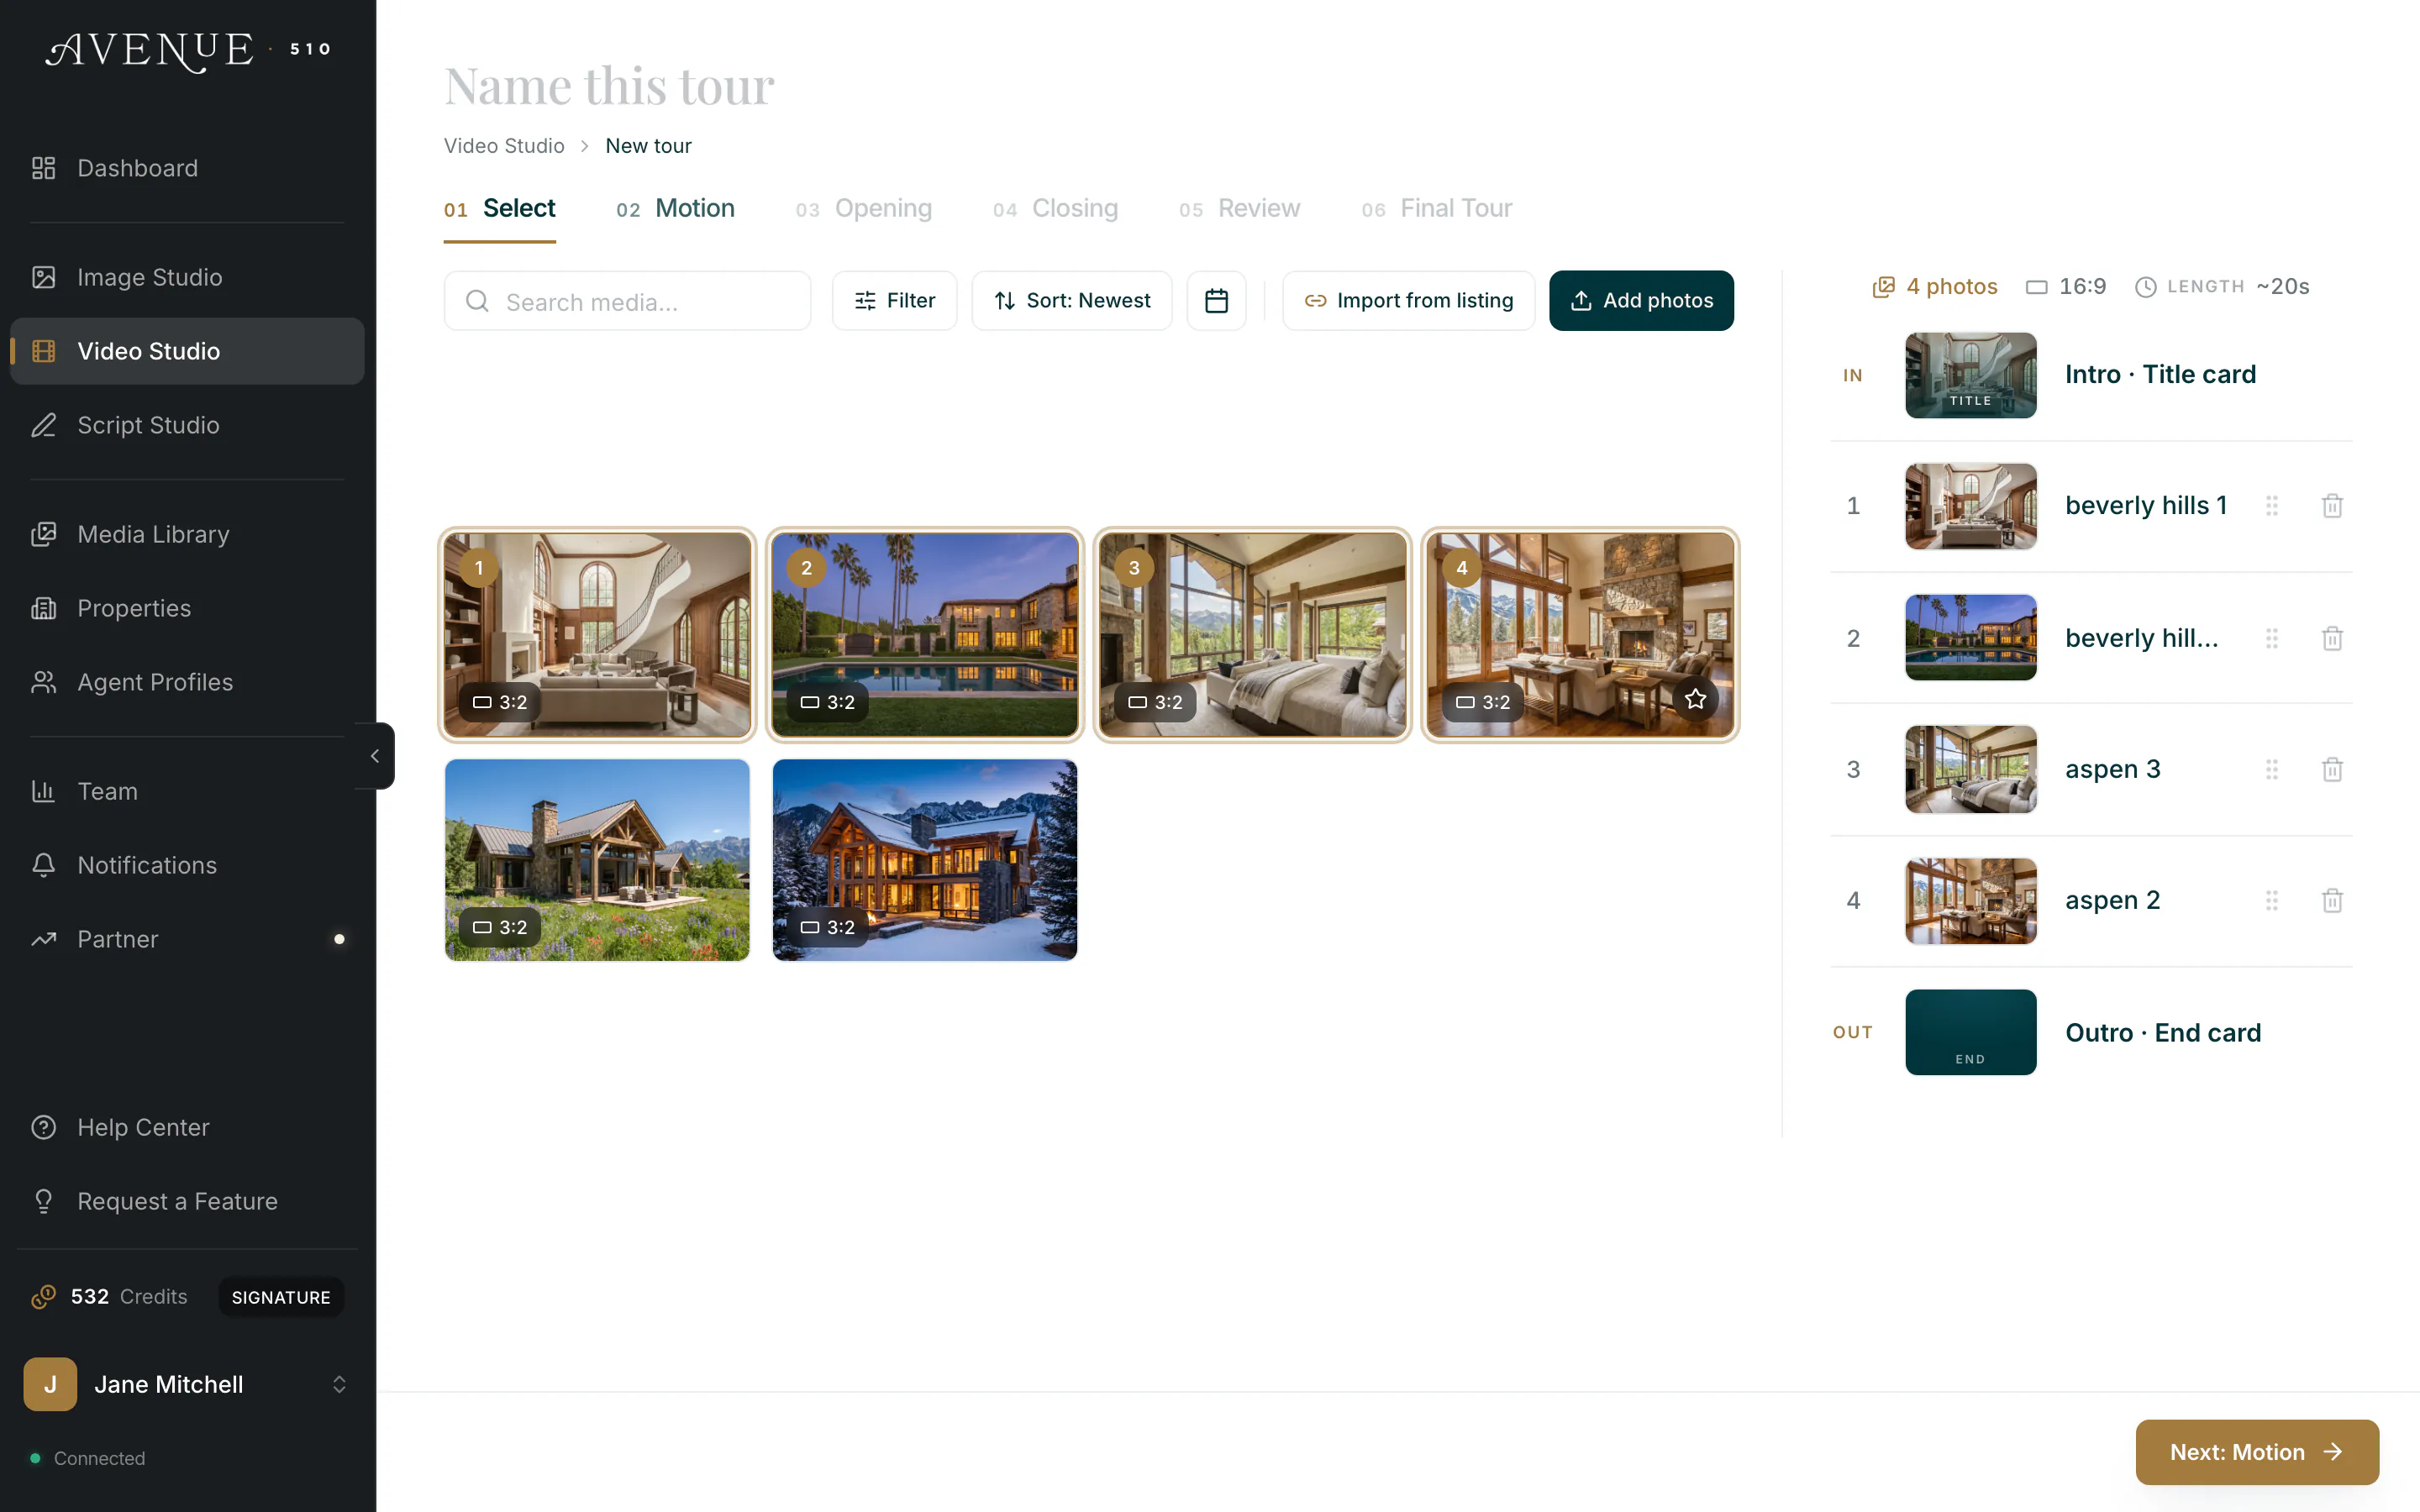
In Select, your Media Library sits on the left and your tour builds on the right. Tap a photo to add it, tap it again to remove it, and drag the right-hand list to reorder.
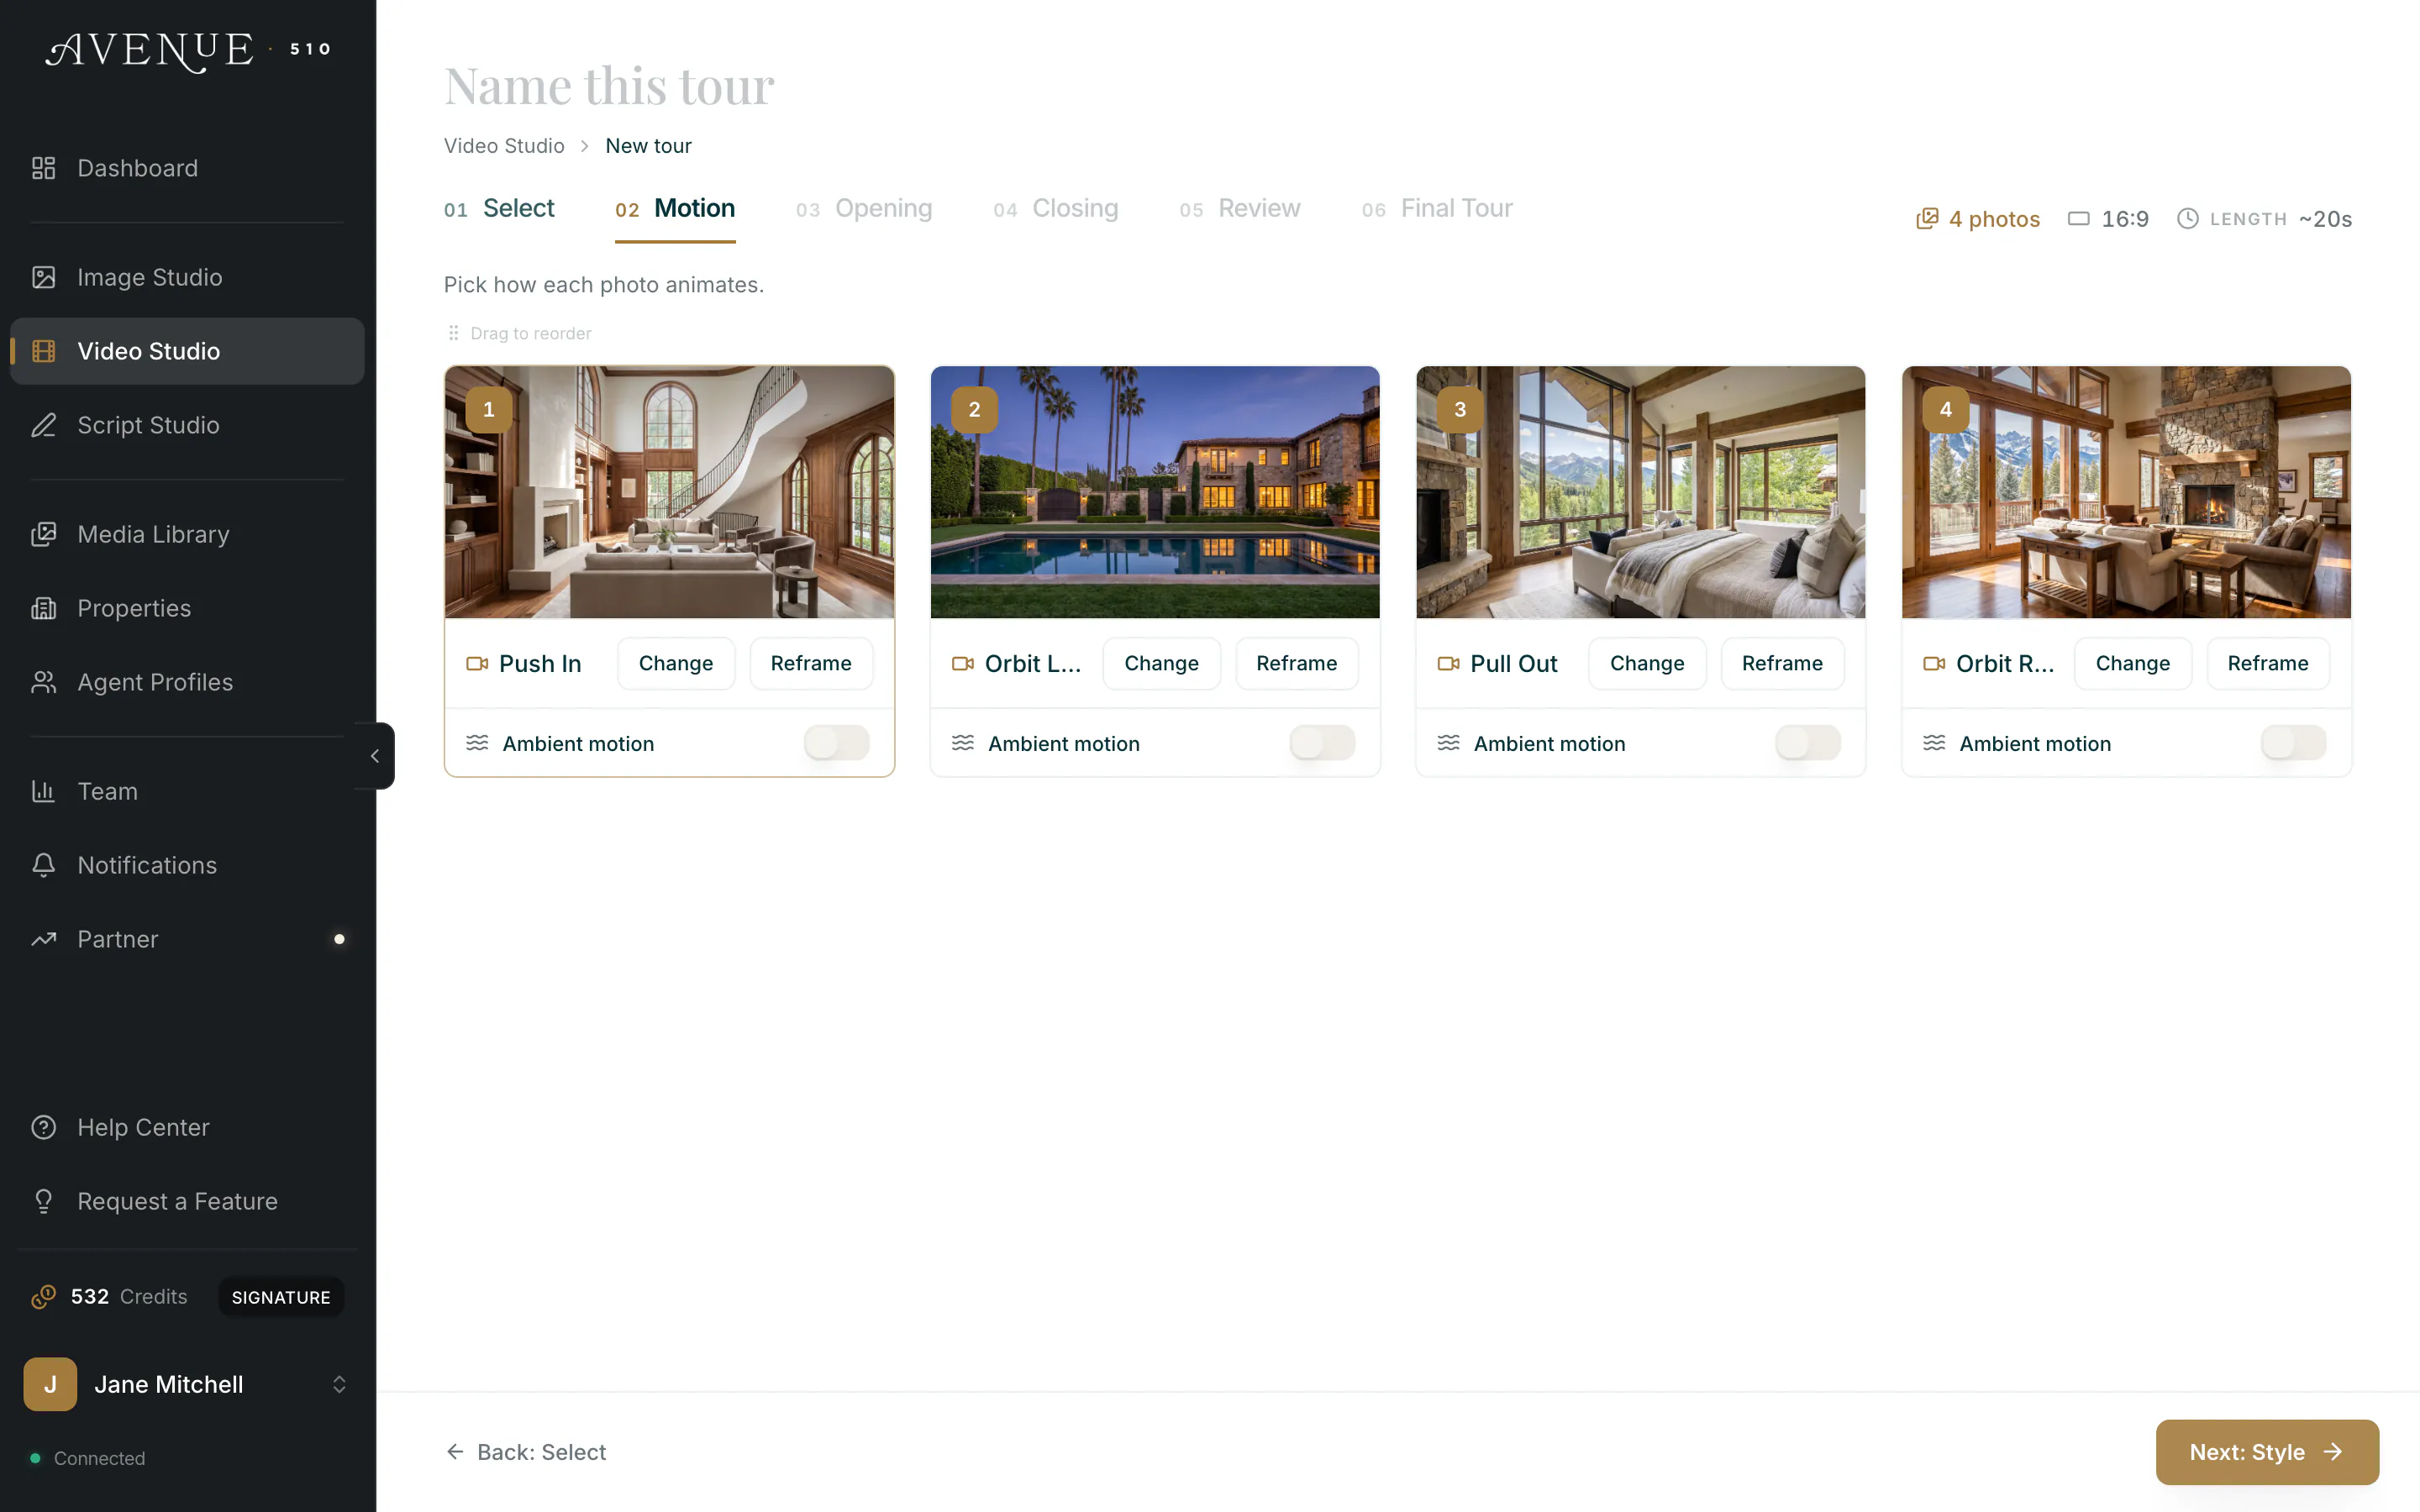
In Motion, every chosen photo becomes a numbered card showing the camera movement assigned to it. Each card has Change to swap the movement, Reframe to adjust what the camera looks at, and an Ambient motion toggle. The header tracks your photo count, format, and estimated length as you work. This is the one step that does not apply to every tour: a tour built from clips you already own passes straight over it, because there is nothing left to animate.
In Opening and Closing, a live preview panel sits on the right and updates as you change your branding, so you can see the first and last frames of the tour before you generate anything.
You choose your formats once, before the storyboard opens, and the tour opens on the first one you tapped. Once it is finished, Step 06 gives you a switcher above the player so you can move between the formats you chose, and you can add any of the others there for free. See which export formats are included for how the four are produced.
The storyboard is visual, fast, and intuitive. No technical knowledge required.